


How to organise dance students into member groups
Groups are labels you put on students: a competition team, an exam group, the Saturday parents. This tutorial shows how to create them, add students and use them across Stepsi.

Groups let you sort students the way your studio actually works: by level, team, exam or location. Once a student is in a group, you can filter, message and target them in a few clicks.
1. Create your groups
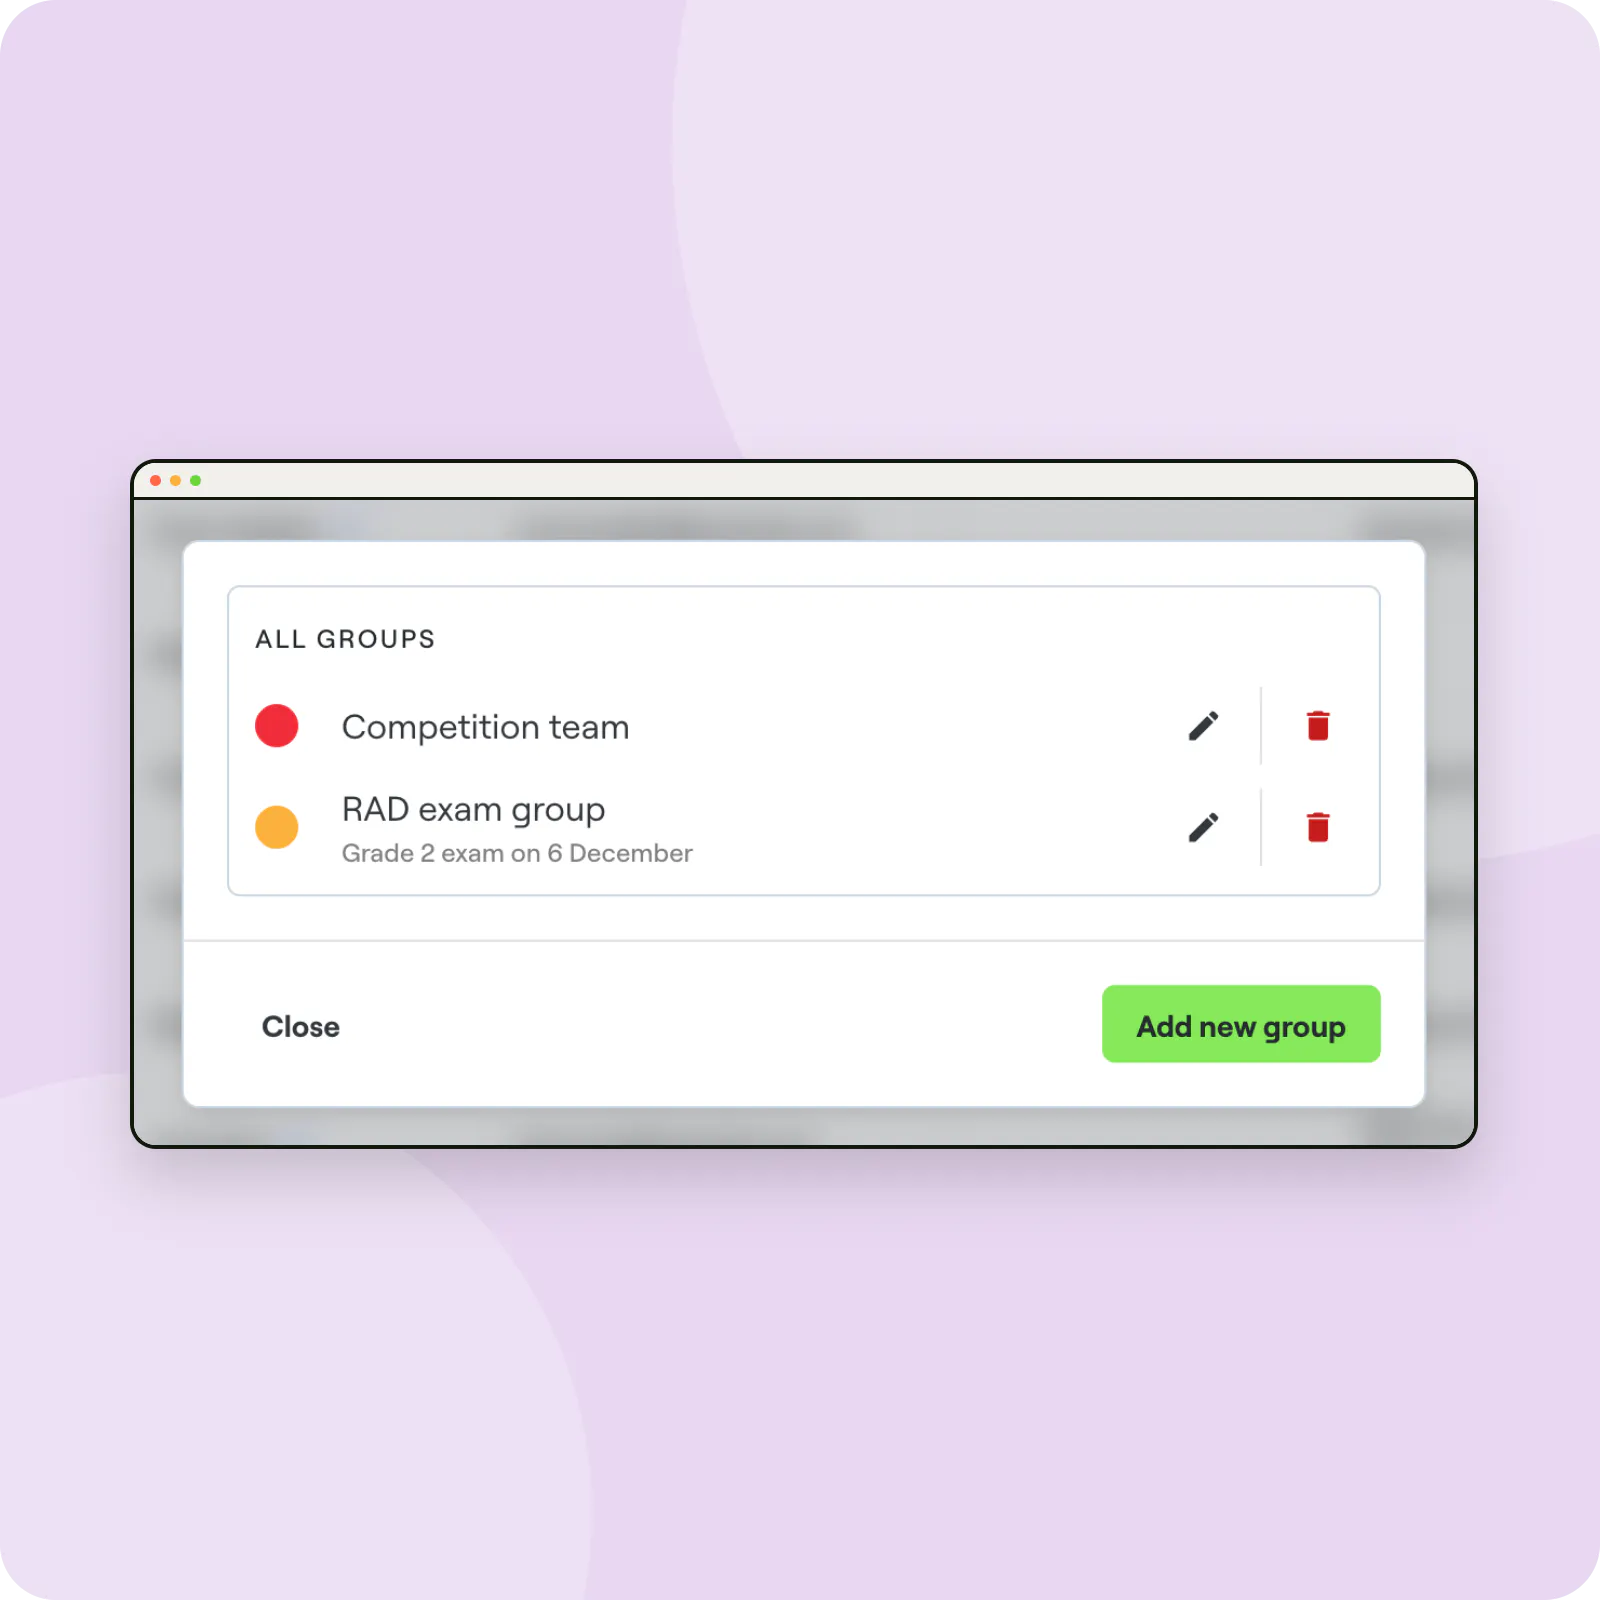
Go to Members and click Member Groups. Click Add new group, enter a Name, optional Details and a colour, and click Save group.
2. Add students to a group
Tick the students in the Members list, open Member Options and choose Add to Group. To change one student, open their profile and edit Member Groups.
3. Put your groups to work
- Filter the Members list by group.
- Message a group: choose Group as the recipients when you send a message.
- Restrict memberships or shop products to certain groups, so only that group can see and buy them.
- Target gallery videos at a group, such as choreography for one team.
Let families choose at sign-up
In Account > Mobile App, Require group selection on sign-up asks new members to pick a group themselves, such as their age group or location.
Small labels, big time savings
A few well-chosen groups make messaging, pricing and video sharing much simpler as your studio grows.
Frequently asked questions
Can a student be in more than one group?
Yes. A student can belong to several groups, for example a level and a competition team.
Can I delete a group that has members?
No. Remove the members from the group first; Stepsi warns you when a group still has members.


