

How to publish your dance studio website with the Stepsi website builder
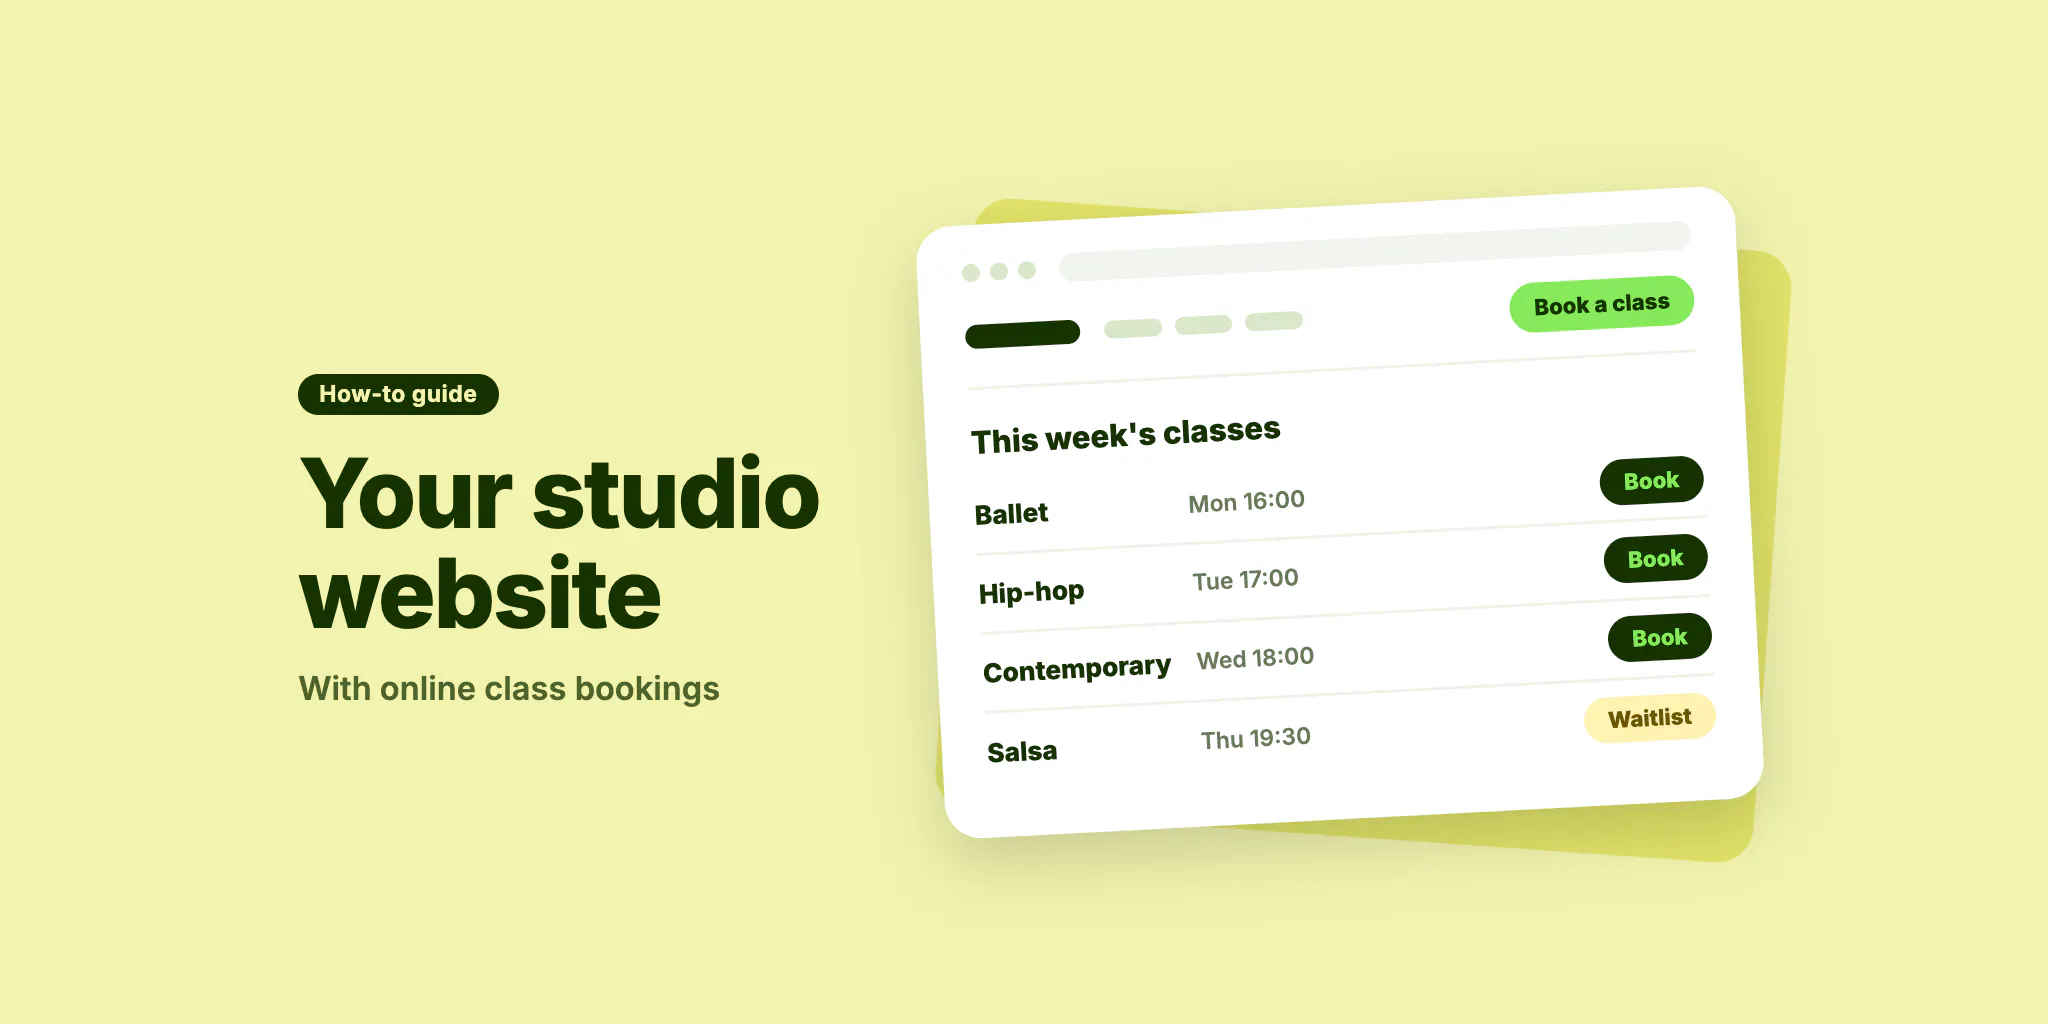
The website builder turns your Stepsi data into a public page where visitors can see the timetable, buy memberships and book. This tutorial covers building, publishing and using widgets on a site you already have.

Your Stepsi website shows live information: when you change a class or a price in the dashboard, the website updates too. You only design the page once.
1. Open the builder
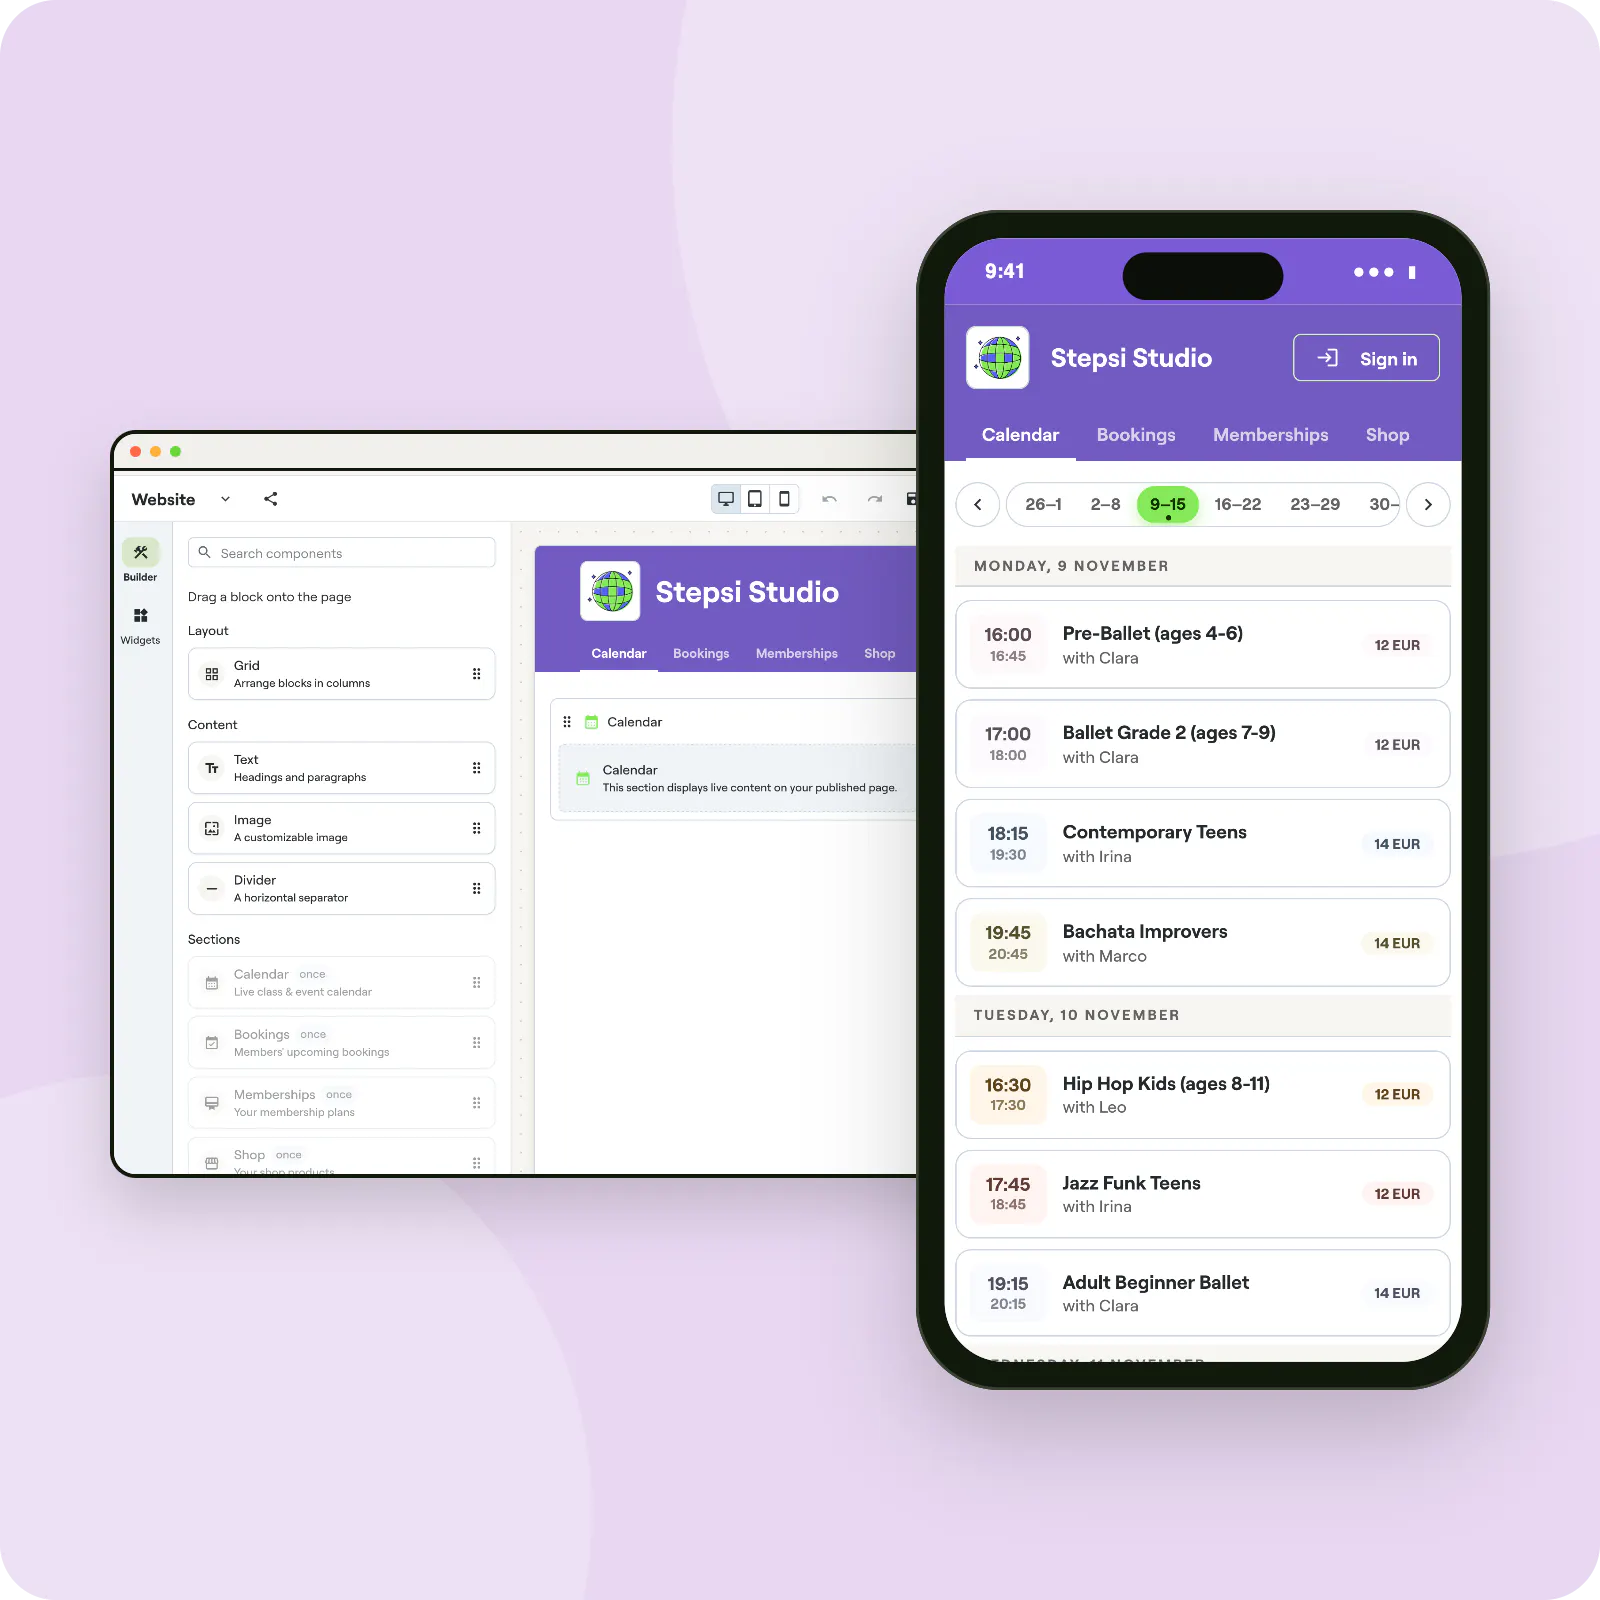
Go to Website. The Builder shows your page on the right and the blocks you can add on the left.
2. Add your sections
Drag blocks onto the page. Sections show live content: Calendar for your timetable, Bookings for members' upcoming bookings, Memberships for your plans and Shop for your products. Add Text, Image, Grid and Tabs blocks around them, or a Form.
Use Add page for extra pages, which appear in the header next to your logo and the sign-in button.
3. Check it on every device
Switch between Desktop, Tablet and Mobile at the top. Most parents will visit on a phone, so check the mobile view carefully. Click Save as you go.
4. Publish
Click Publish. Your website is live, and Open website gives you its link. Unpublish shows visitors a coming soon page instead.
Already have a website?
Open Widgets in the builder to embed your calendar, a form or a member account area on your existing site. Copy the code and paste it where it should appear.
A website that keeps itself up to date
Visitors book and buy from the same timetable and plans you manage in the dashboard, so there is nothing to copy across.
Frequently asked questions
Can visitors book without the app?
Yes. They book and pay on the website, signing in or continuing as a guest.
Can I edit the website on my phone?
The builder needs a larger screen, so use a laptop or desktop to design the page.